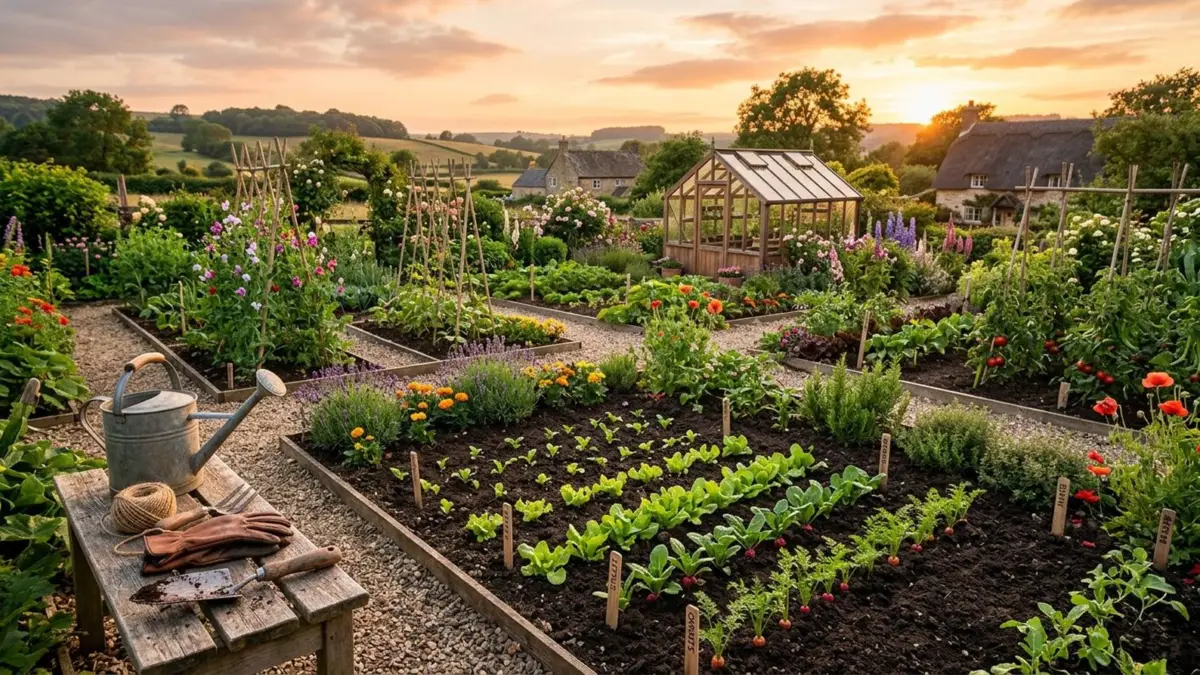
Quick answers
- Are my transplanted seedlings dying?
- Probably not. Mild wilting in afternoon heat for 1 to 3 days is normal and they should recover overnight. If they are still limp in the morning with moist soil, suspect root damage; if the soil is dry, water deeply and shade them.
- When should I transplant?
- When seedlings have 2 to 4 true leaves, have been hardened off for 7 to 10 days, and the soil is warm enough for the crop: about 10°C for brassicas and 15 to 18°C for tomatoes, peppers and squash. Check the seasonal planting calendar.
- Should I bury the stem when planting?
- Only for tomatoes, which root along buried stem, and leggy brassicas, which tolerate it. Plant peppers, aubergines and cucurbits at the same depth they grew in the pot.
- Which plants resent being transplanted?
- Carrot, parsnip, radish, beans, peas and poppies sulk when roots are disturbed, so sow them in place. Squash and cucumber transplant well only when young and kept in whole pots with minimal root disturbance.
Key takeaways
- Harden off for 7 to 10 days, adding sun and wind gradually
- Plant in the evening or under cloud, and water the hole before and after
- Release circling roots, and match planting depth to the crop
- Shade and steady moisture for the first 3 to 5 days prevent most shock
Table of contents15 sections
- Transplanting at a glance
- How to tell a seedling is ready
- Hardening off, day by day
- Is the soil warm enough?
- The planting method
- Planting depth by crop
- Spacing and soil preparation
- Aftercare in the first two weeks
- Diagnosing a sulking transplant
- Transplanting into containers and moving self-sown seedlings
- Climate adjustments
- Why transplanting seedlings succeeds or fails
- Making transplanting seedlings less of a shock
- Mistakes to avoid
- What to read next
How to transplant seedlings without killing them comes down to hardening them off, handling them gently and watering well, so the roots settle before the sun and wind arrive.
Move seedlings only when they are ready and the soil is warm enough, harden them off over 7 to 10 days, loosen any circling roots, plant at the right depth for the crop, and keep them shaded and evenly moist for the first few days. Do that and transplant shock is mild, short and mostly invisible.
This guide is for anyone moving seedlings from trays or pots into beds or containers. It covers readiness signs, hardening off, soil temperature, depth by crop, spacing, aftercare and what to do when seedlings sulk. It sits in the Plant Growing Guides guides and follows on from planting seeds step by step.
Transplanting at a glance
| Question | Short answer |
|---|---|
| Ready when | 2 to 4 true leaves, roots holding the plug together, stems sturdy |
| Harden off | 7 to 10 days, from 1 to 2 hours of shade to a full day outdoors |
| Best time of day | Late afternoon or a cloudy day |
| Water | Soak seedlings before lifting and the hole before planting, then water in with 0.5 to 1 litre each |
| Shade afterwards | 3 to 5 days in hot or windy weather |
| Feeding | None at planting beyond compost; start weak feed after 2 weeks |
How to tell a seedling is ready
Age matters less than size. Look for two to four true leaves (the leaves after the first pair of cotyledons), a stem as thick as a pencil lead or more, and white roots showing at the drainage holes or holding the root ball together when you tip it out. Tomatoes are usually 15 to 20 cm tall, brassicas 10 to 15 cm. Plants that stay too long in small cells become root-bound: roots circle, the top turns purple or yellow, and growth stalls after planting. If you’re running late, pot seedlings on into larger pots rather than leaving them to starve.
Hardening off, day by day
Indoor seedlings have thin leaf surfaces and little wax. Sun, wind and cold nights scorch and shock them. Hardening off thickens the leaves and slows water loss before they face the open garden.
| Day | Exposure |
|---|---|
| 1 to 2 | 1 to 2 hours in bright shade, out of wind |
| 3 to 4 | 3 to 4 hours, some morning sun |
| 5 to 6 | Half a day in sun, full day in shade |
| 7 to 8 | Full day in sun, bring in at night if below 8 to 10°C |
| 9 to 10 | Leave out day and night if nights stay above the crop’s minimum |
Tender crops such as tomatoes, peppers, basil and squash should come in whenever nights drop below about 10°C. Cabbage, kale, lettuce and onions tolerate a light frost once hardened. In a hot, dry climate focus on wind and midday sun, and use 30 to 50 per cent shade cloth. In humid tropical gardens, hardening is mainly about direct sun and heavy rain, so start under a tree or a veranda.
Is the soil warm enough?
A calendar date is a guess. Soil temperature at planting depth is better, and a cheap probe thermometer pays for itself. Take a reading at 10 cm depth in the morning.
| Crop group | Minimum soil temperature | Notes |
|---|---|---|
| Brassicas, lettuce, onions, peas | About 5 to 10°C | Plant out 2 to 4 weeks before your last frost |
| Tomato | About 15 to 16°C | Cold nights stall growth and turn leaves purple |
| Pepper, aubergine (eggplant) | About 18°C | Wait longer; they do not recover from a cold snap |
| Squash, cucumber, melon, basil | About 18 to 20°C | Black plastic or cloches warm soil in 1 to 2 weeks |
The planting method
- Water the seedlings an hour or two before lifting so the root ball holds together.
- Dig the hole wider than the root ball and fill it with water. Let it drain, so the roots sit in moist, not dry, soil.
- Release the plant. Squeeze the cell or pot and slide the plant out. Hold it by a leaf or the root ball, never the stem.
- Loosen the roots. If roots circle, tease them apart with your fingers. If they form a solid mat, make three or four vertical cuts 1 cm deep with a clean knife.
- Set at the right depth (see the table below) and fill around the ball with soil, firming with your fingers rather than your boot.
- Water in slowly with 0.5 to 1 litre per plant, until a shallow basin is full twice.
- Mulch 3 to 5 cm deep, kept clear of stems (see Mulching Mastery).
Planting depth by crop
| Crop | Depth | Why |
|---|---|---|
| Tomato | Bury up to the first true leaves, or lay a leggy plant in a shallow trench | Stem forms extra roots |
| Brassicas | Slightly deeper, up to the first leaves | Anchors tall stems against wind |
| Pepper, aubergine | Same level as in the pot | Deep planting can invite stem rot |
| Squash, cucumber, melon | Same level, on a slight mound | Stems rot when buried or kept wet |
| Lettuce, onions, leeks | Same level; leeks can be dibbed 10 to 15 cm deep to blanch stems | Crown must stay above soil |
Spacing and soil preparation
Crowded transplants compete from week one. Tomatoes need 45 to 60 cm, peppers 40 to 45 cm, brassicas 40 to 60 cm, lettuce 20 to 30 cm and squash 90 cm or more. Before planting, fork in a few centimetres of compost, but skip strong fertiliser, which burns damaged roots. If your ground is heavy clay or loose sand, check Understanding Your Soil Type before planting out a whole bed.
Peat pots and paper pots sold as “plant whole” often don’t break down fast enough. Tear off the rim above the soil, which otherwise wicks moisture away from the roots, and slit the sides. Coir and cardboard cell pots are more reliable.
Aftercare in the first two weeks
- Day 1 to 5: shade with a cloth, upturned pot or fleece from 11am to 4pm. Check moisture daily in warm weather.
- Day 5 to 14: remove shade, water deeply every 2 to 4 days, depending on soil and weather, instead of a daily sprinkle (see Watering Plants the Right Way).
- Protect from pests: slugs, snails, cutworms and birds all target fresh transplants. Use collars of card around stems and netting where birds pull plants.
- Feed after 2 weeks with a dilute liquid feed if growth has restarted.
Diagnosing a sulking transplant
| Symptom | Likely cause | Confirm and fix |
|---|---|---|
| Wilts in the afternoon, recovers at night | Normal shock; roots cannot yet match leaf water loss | Soil is moist. Add shade and wait 2 to 3 days |
| Wilts and stays limp, soil dry | Root ball dried out or never wet | Water slowly; wet the whole ball. Mulch to hold moisture |
| Wilts with wet soil | Roots damaged, or waterlogged | Dig one up to check. Brown roots mean reduce watering and improve drainage |
| Purple tinge on leaves | Cold soil or nights blocking nutrient uptake | Check soil temperature; use cloches and wait for warmth |
| Stem cut at ground level overnight | Cutworm | Dig around the plant for grey curled grubs; use collars |
| White or bleached patches on leaves | Sunscald from poor hardening | Shade; damaged leaves will not recover, but new ones will |
| No growth for weeks | Root-bound plug, cold or hungry soil | Check roots, and see Reading Plant Signals |
Transplanting into containers and moving self-sown seedlings
For pots and tubs, use fresh potting mix rather than garden soil, and leave 2 to 3 cm between the mix surface and the rim so water has room to soak in. A single tomato wants at least a 20 to 25 litre container, a pepper 10 to 12 litres, and lettuce or herbs 3 to 5 litres per plant. See Choosing Pots and Potting Mix for material and drainage choices.
Self-sown seedlings from the garden, such as calendula, nigella or foxglove, move best when they have only two to four true leaves, before a taproot forms. Lift them with a spoon and a generous plug of soil, replant within minutes, and treat them like any other transplant. Larger seedlings with a long taproot rarely survive the move, so thin them where they stand instead.
Climate adjustments
- Cool-temperate: use cloches, fleece or black mulch to warm soil two weeks early, and plant tender crops on sunny, sheltered ground.
- Hot-dry: plant in the last 2 hours before sunset, water the evening before and after, and use shade cloth for the first week.
- Humid-tropical: plant at the start of a rainy spell but avoid the heaviest rain, and raise beds so roots don’t sit in saturated soil.
Why transplanting seedlings succeeds or fails
Hardening off toughens tomato and cabbage leaves, so the seedling loses less moisture when wind and sun reach it. A cloche or fleece protects young kale from frost, and a shade cloth reduces sun scorch on lettuce in the first week. Watering the tray first holds the root ball together and prevents the damage that stops growth after planting.
Transplanting at dusk or on a cloudy day cools the roots and reduces wilt, so you’ll lose fewer plants than at midday. Handle each seedling by a leaf and not the stem, because a crushed stem kills it while a torn leaf recovers. A trowel dug to the full depth of the cell encourages roots to spread, while compacted topsoil blocks them. Compost or mycorrhiza in the planting hole supports new roots, and a deep drink settles the soil around the cabbage or pepper. How long does it take to recover? Most seedlings pause for a few days, so you shouldn’t feed them until new leaves appear.
Making transplanting seedlings less of a shock
Tomato stems form roots along any buried section, so deep planting in loose topsoil improves anchorage and drought tolerance. Cabbage and lettuce prefer their crown level with the surface, because a buried growing point encourages rot and a raised one dries out. A paper or card collar 8 cm tall around each stem stops cutworm from severing it, and a grit barrier protects against slug and snail. Wait until soil temperature reaches 10°C for kale and 15°C for pepper and squash, because cold soil blocks phosphorus uptake and stalls the roots.
Space plants to the width on the label, usually 30 cm for cabbage and 45 cm for kale, since crowding spreads downy mildew between leaves. Water the tray before lifting so the compost holds the roots together, and a trowel lifts the whole ball without tearing it. Firm the soil gently with your fingers, give each plant 0.5 litre from a watering can and add a thin mulch, which holds moisture and removes air pockets that dry the roots. Shade cloth or a row cover for 3 days after planting reduces scorch and protects soft leaves from wind.
Don’t feed with fertiliser or urea for the first 2 weeks, because strong nitrogen pushes soft leaves before the roots can support them. Seedlings that sulk after you’ve planted them often just need a few days, but check the roots for root rot or damping-off before you worry. How to Plant Seeds Step by Step covers the sowing and compost choices that keep roots intact, and Watering Plants the Right Way controls drought stress afterwards. Your local extension service or the RHS can confirm the safe planting date, since late frost kills tender seedlings and tomato.
Mistakes to avoid
- Skipping hardening off because the weather looks mild
- Planting by date rather than by soil temperature
- Pulling seedlings out by the stem
- Burying peppers and squash like tomatoes
- Planting into dry soil and watering afterwards
- Giving strong fertiliser at planting
Seedlings raised indoors stay sturdier under a grow light, as shown in Grow Lights for Seedlings.
What to read next
For tomatoes, see How to Grow Tomatoes. To grow more plants without seed, try Propagation by Cuttings, and for timing, use the Seasonal Planting Calendar. Back to the Plant Growing Guides.
Frequently asked questions
What is transplant shock and how long does it last?
Transplant shock is the stall in growth after roots are disturbed, often with some wilting. Most seedlings pause for a few days to a week or two, then restart. Shade, steady moisture and gentle handling shorten it. Do not feed until new leaves appear.
Should I water seedlings before or after transplanting?
Both. Soak the seedlings an hour or two before lifting so the root ball holds together, and fill the planting hole with water before setting the plant. Then water in with 0.5 to 1 litre per plant to settle the soil around the roots.
What time of day is best for transplanting seedlings?
Late afternoon, evening or a cloudy day is best, because cooler air and weaker sun reduce wilting. In hot, dry climates, plant in the last two hours before sunset and shade the plants for the first week. Avoid planting at midday in strong sun.
How do I handle seedlings without hurting them?
Hold the seedling by a leaf or its root ball, never the stem. A crushed stem kills the plant, while a torn leaf usually recovers. Squeeze the cell from the sides to slide the plant out, and use a small dibber or spoon to lift loose seedlings.
Should I loosen the roots of a seedling before planting?
Yes, if they circle the root ball. Tease them apart gently with your fingers. If the roots form a solid mat, make three or four vertical cuts about 1 cm deep with a clean knife. Roots left wound in a coil may not spread into the new soil.
Do I need to fertilise seedlings when transplanting them?
No. Fork a few centimetres of compost into the bed beforehand, but skip strong fertiliser at planting, because it can burn damaged roots and push soft leaves before the roots can support them. Start a dilute liquid feed after about two weeks, once growth has restarted.
How far apart should I space transplanted seedlings?
Typical spacings are 45 to 60 cm for tomatoes, 40 to 45 cm for peppers, 20 to 30 cm for lettuce and 90 cm or more for squash. Follow the plant label if it differs. Crowding raises humidity and disease, and plants compete from the first week.
How do I protect new transplants from slugs and cutworms?
Put a collar of card or a cut plastic ring, about 8 cm tall, around each stem to block cutworms, and use netting where birds pull plants. For slugs, check at dusk, hand-pick and add barriers. Fresh transplants are the most attractive targets.
Can I transplant seedlings that have outgrown their tray?
Yes, but pot them on into larger pots first rather than leaving them to starve in small cells. Root-bound seedlings turn purple or yellow and stall after planting. Loosen circling roots when you plant them out, and keep them well watered while they recover.
Should I plant peat or paper pots whole into the soil?
Not without preparation. Plant-whole pots often break down too slowly, and an exposed rim wicks moisture away from the roots. Tear off the rim above soil level and slit the sides, or take the plant out of the pot. Coir and cardboard cell pots are more reliable.
More in Plant Growing Guides
Watering Plants the Right Way: How, When and How Much
Deep-and-rare beats little-and-often. Learn to read your plants, check soil moisture properly, and build a watering rhythm that prevents 90% of garden problems.
Choosing Pots and Potting Mix: A Practical Guide
Terracotta or plastic? Potting soil or garden soil? Size and drainage decoded, pick containers and mixes your plants will genuinely thrive in.
Propagation by Cuttings: Multiply Your Plants for Free
Learn which cutting type suits which plant, when to take it, how to root it in water or mix, and why most failures happen at potting…